
This post is in collaboration with Legrand. All thoughts and opinions are my own.
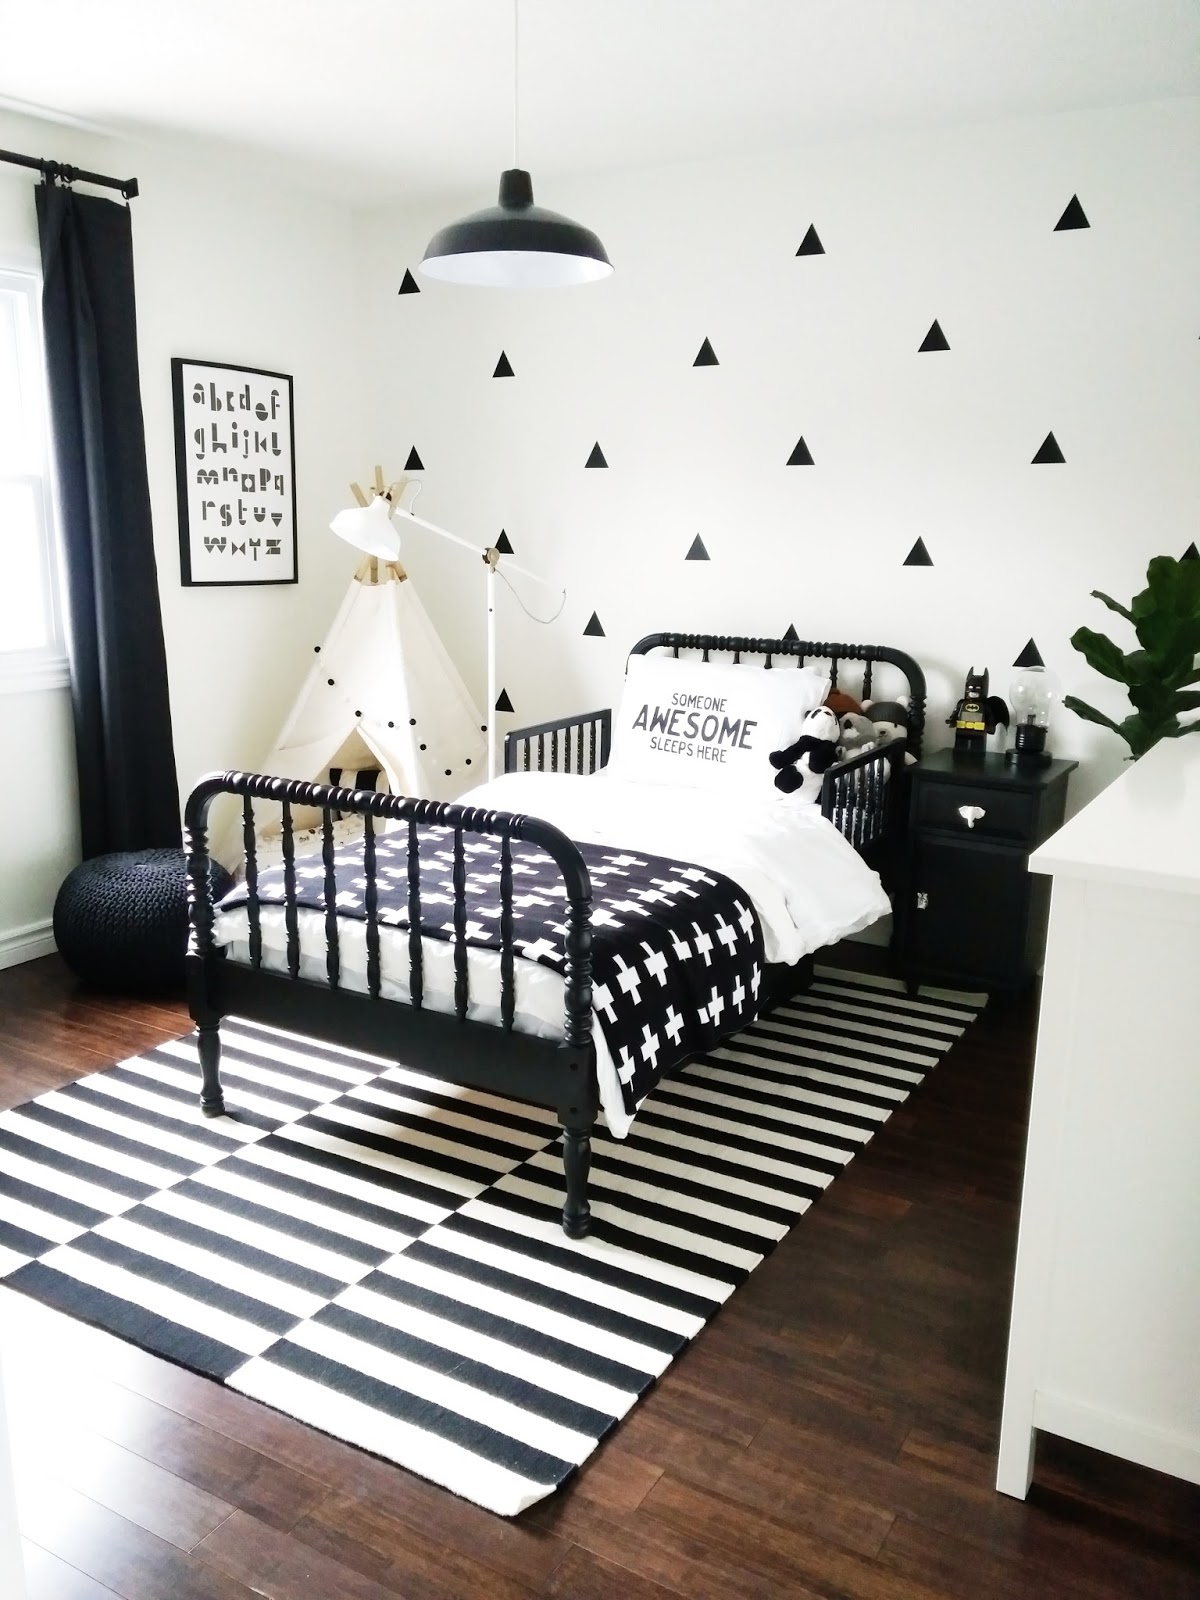
One of the biggest struggles we faced with our oldest child was sleep. Since he was a baby, sleep was never his thing. Once we decided to move him into his “big boy room” and transition him from his crib to his “big boy bed” we decided to give him lots of time to adjust, having him nap there and spend time in his new room whenever he wanted. It was a slow transition and we definitely needed all the tips and tricks to help us out! This is his room now:

But here is how his room looked when we first updated it:
Once we had fully moved him into his new room, it took a while for him to feel comfortable in there and go to sleep on his own. The one thing that we found helped a lot with this, was a nightlight. We had a battery operated one that he loved, but the downside to that was that we needed to replace the batteries ALL. THE. TIME. We tried using a plug-in nightlight but our youngest is fascinated with anything at his level that he can “unplug” so that didn’t last long. We needed a better solution.
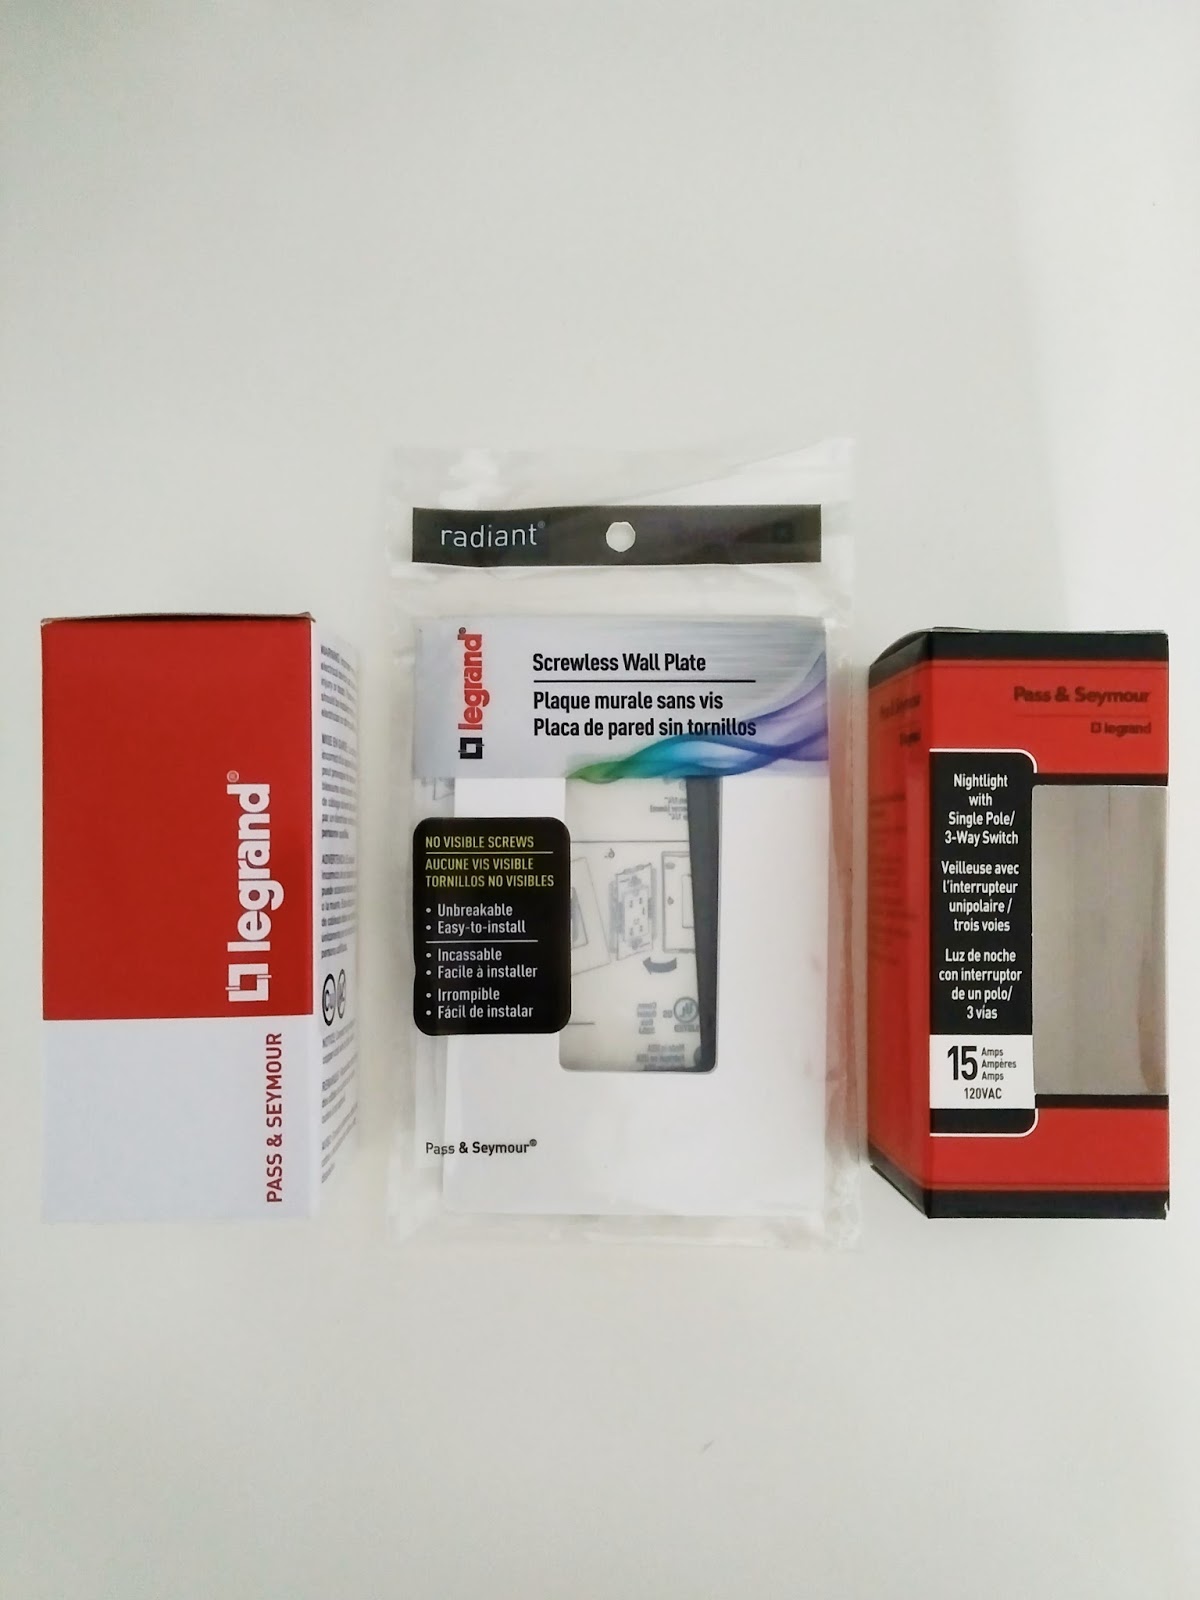
Around the same time we were searching for something, we were introduced to Legrand’s radiant line of light switches and plug-in’s. While looking through their products I was thrilled to see that they had a night light/switch combo. I figured this might be the solution we had been looking for- high up on the wall where the littlest couldn’t reach and obviously doesn’t need batteries- perfect.
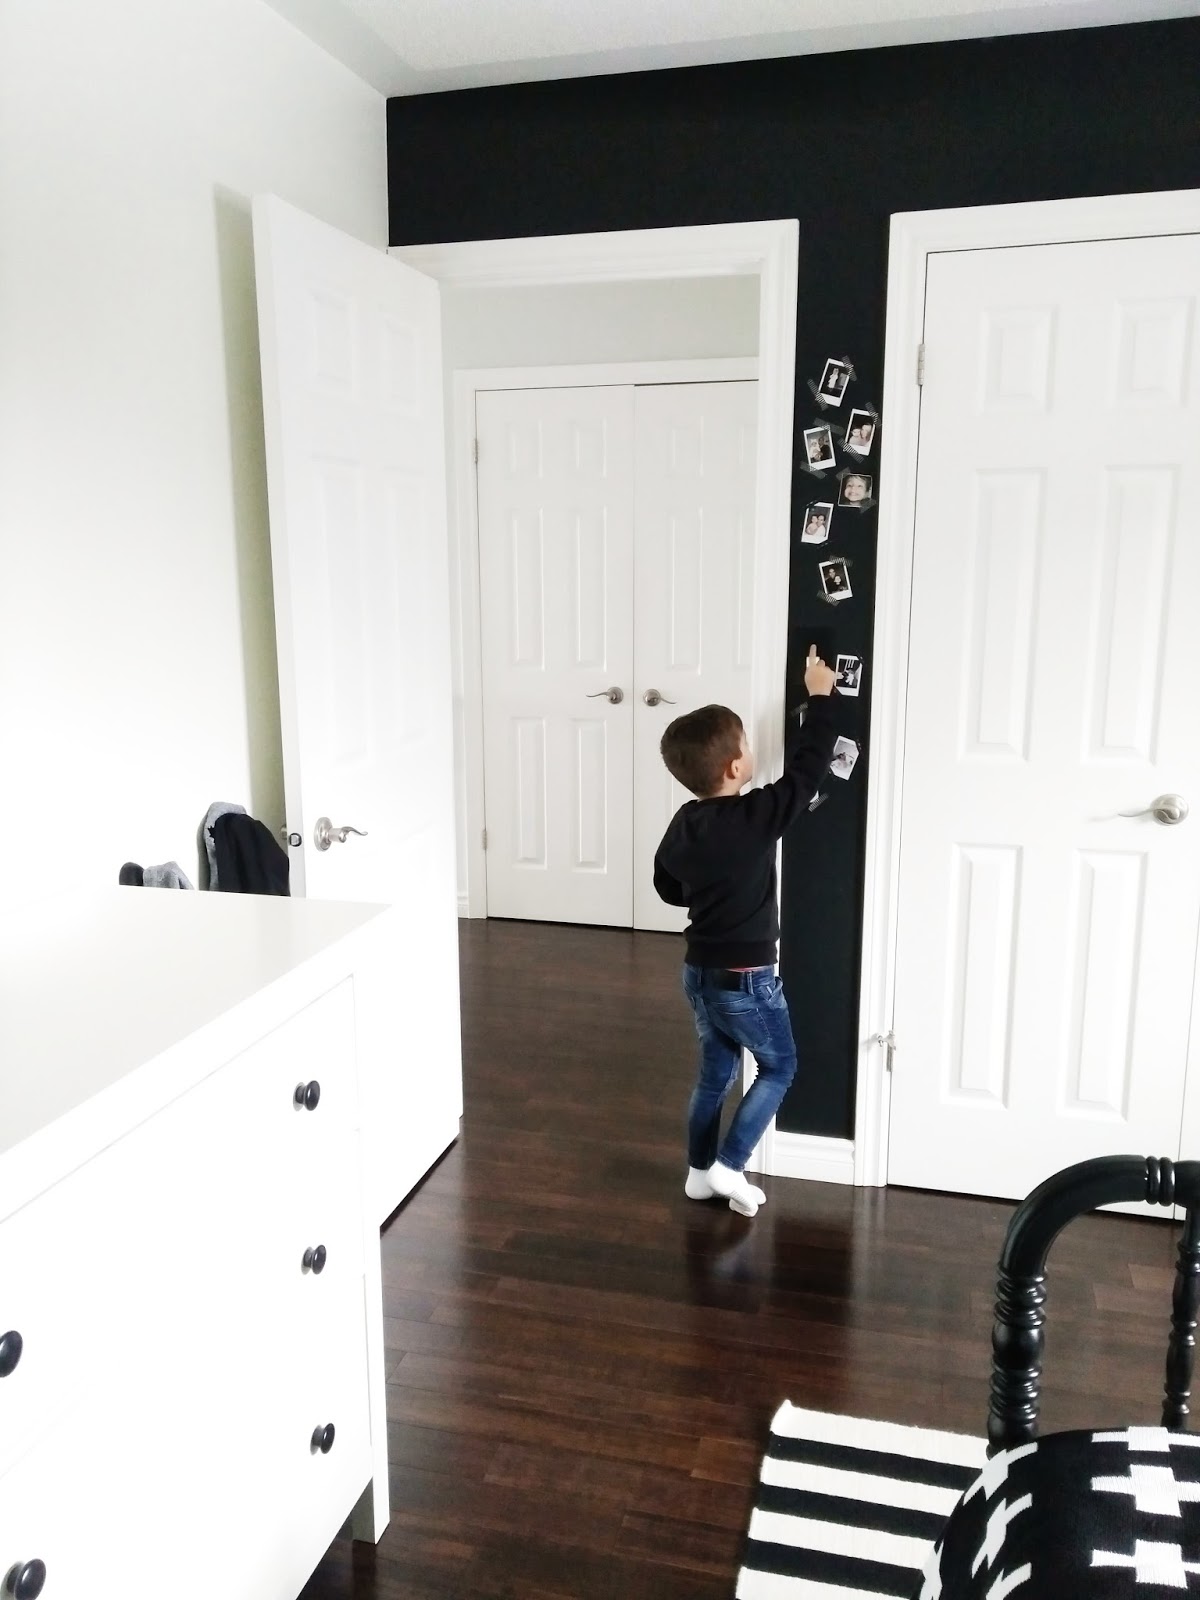
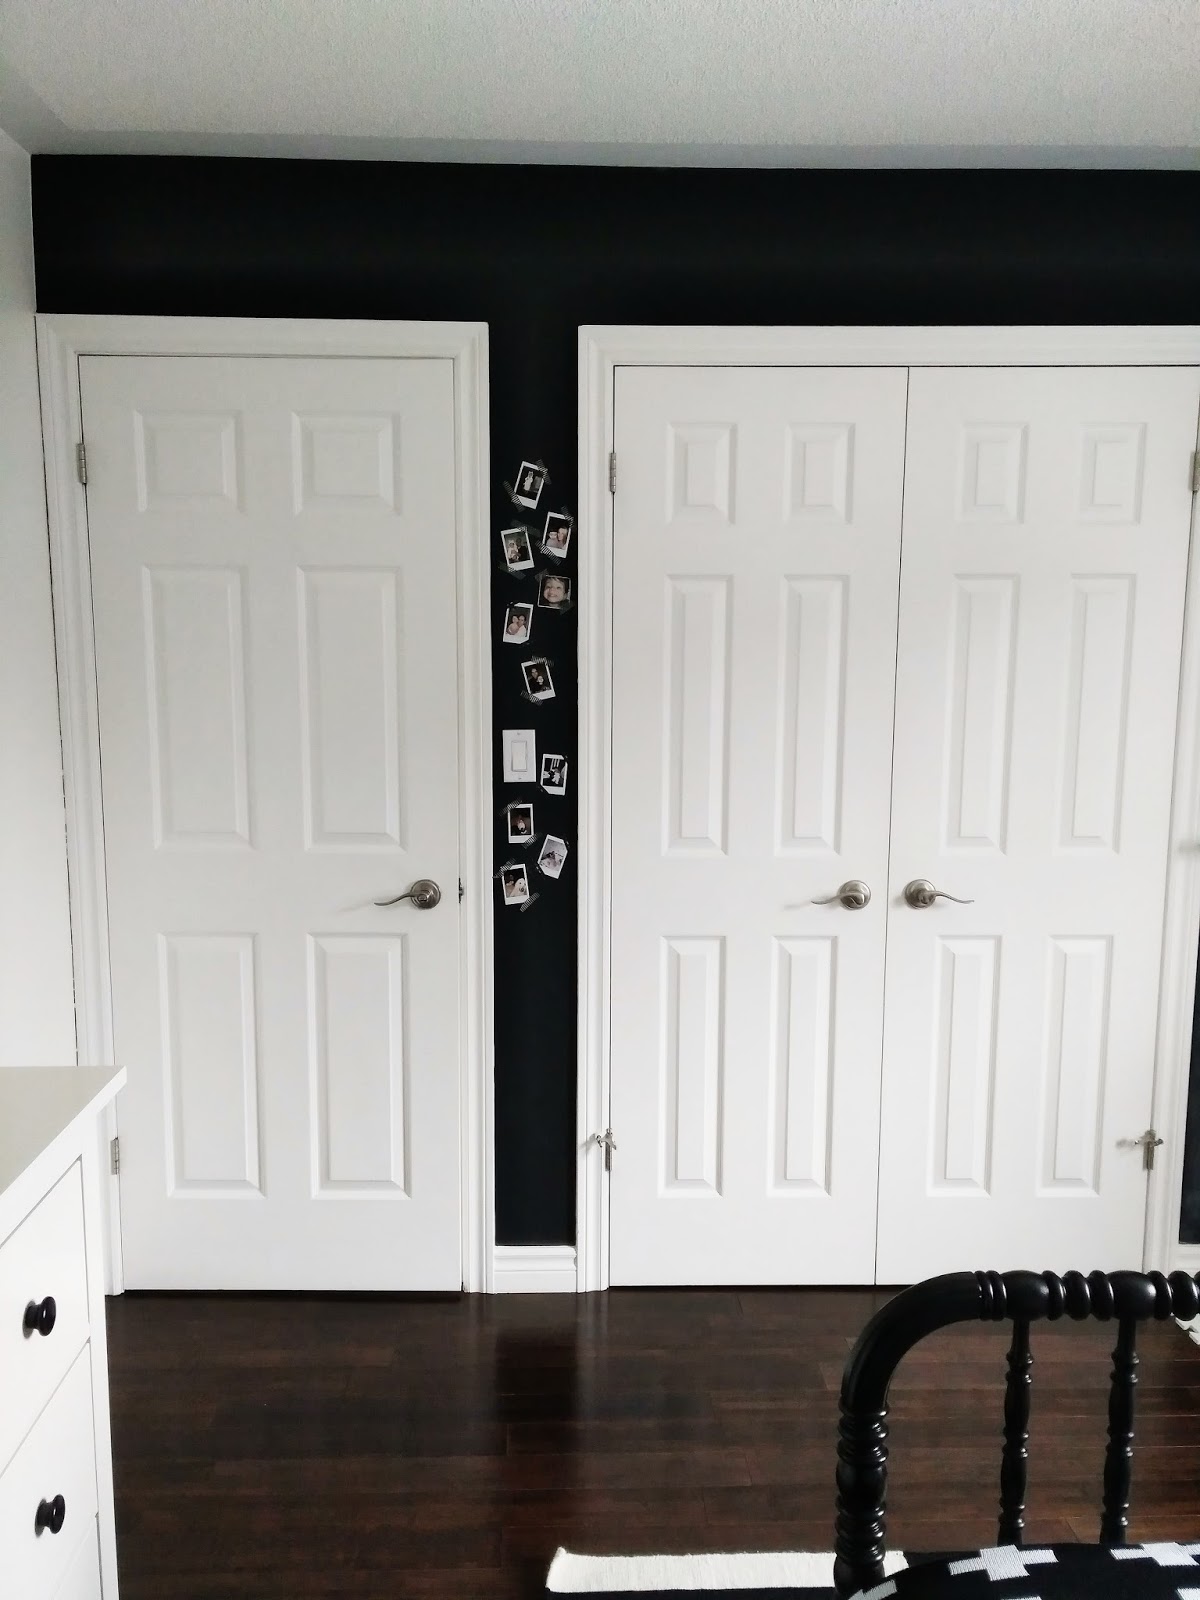
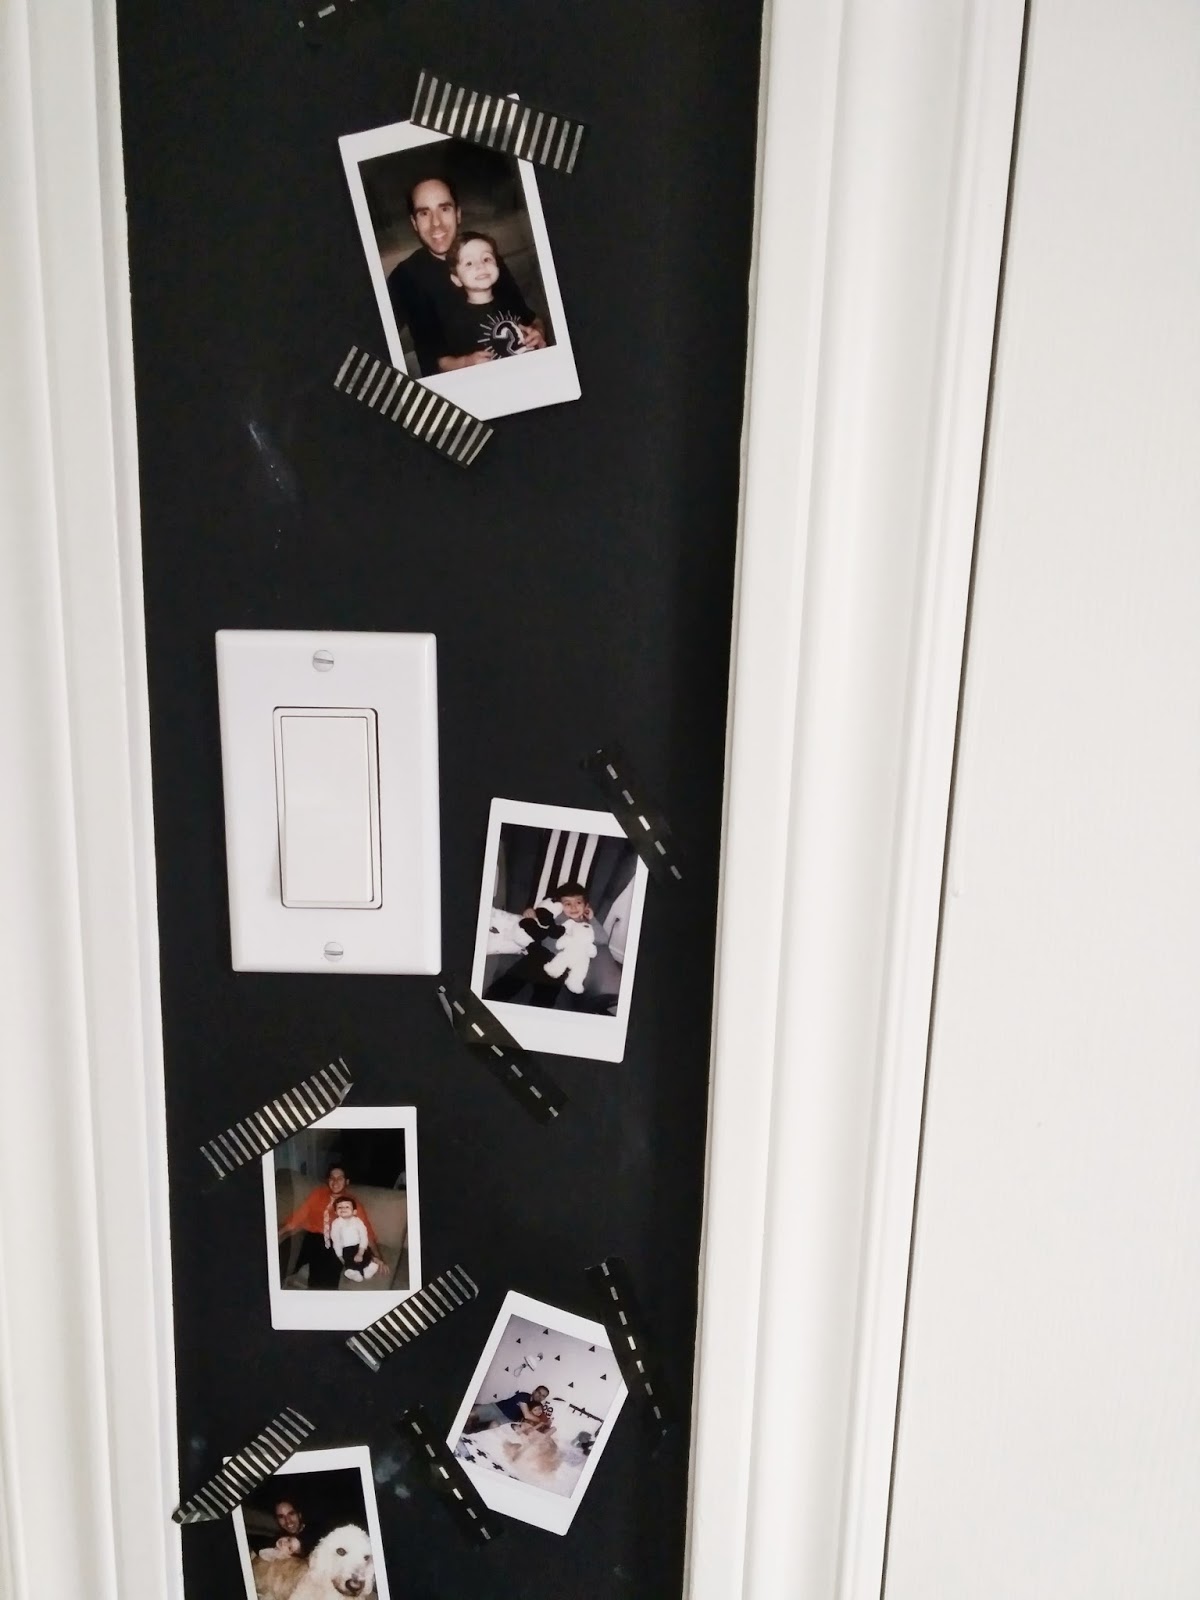
The product options in the Legrand radiant line are endless. We were able to choose a switch/night light combo and wall plate that matched our wall colour (black) so that it blended seamlessly with our sons chalkboard wall. You can definitely see how much of a difference the black wall plate makes, here’s the before:
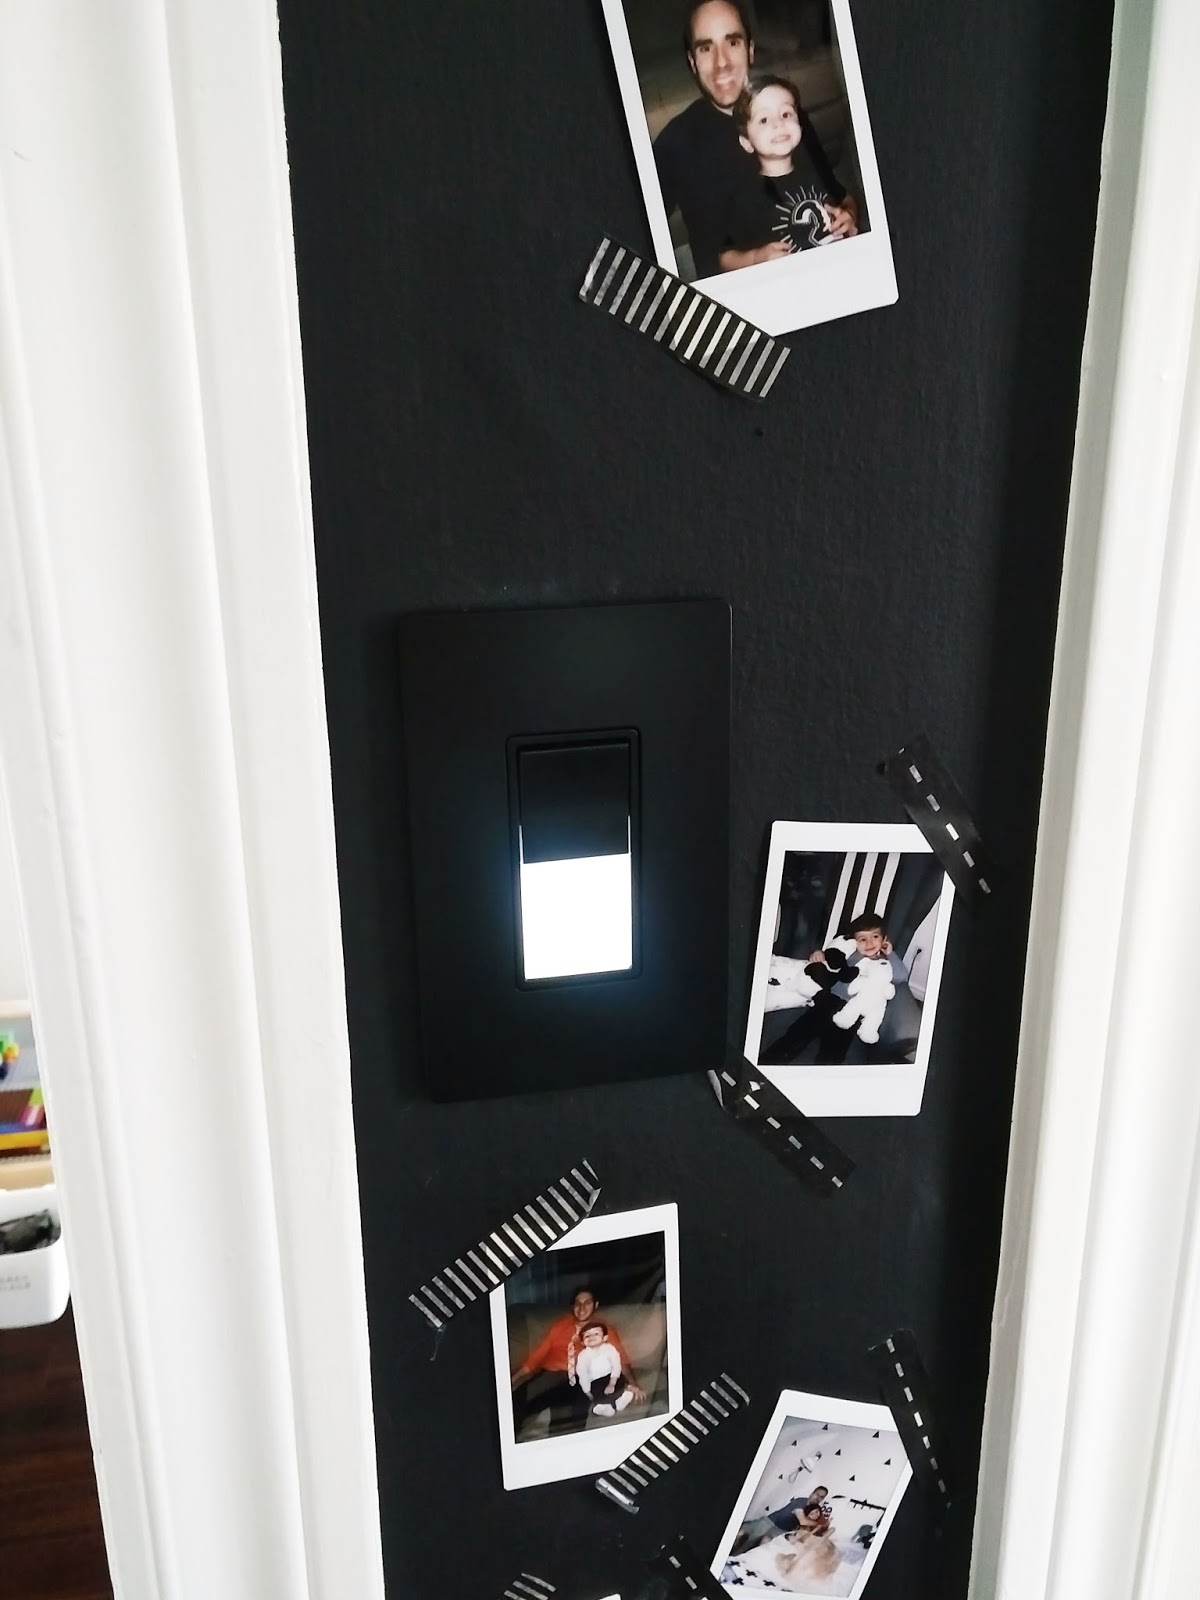
and the after (its hard to see it blends in so well!) :

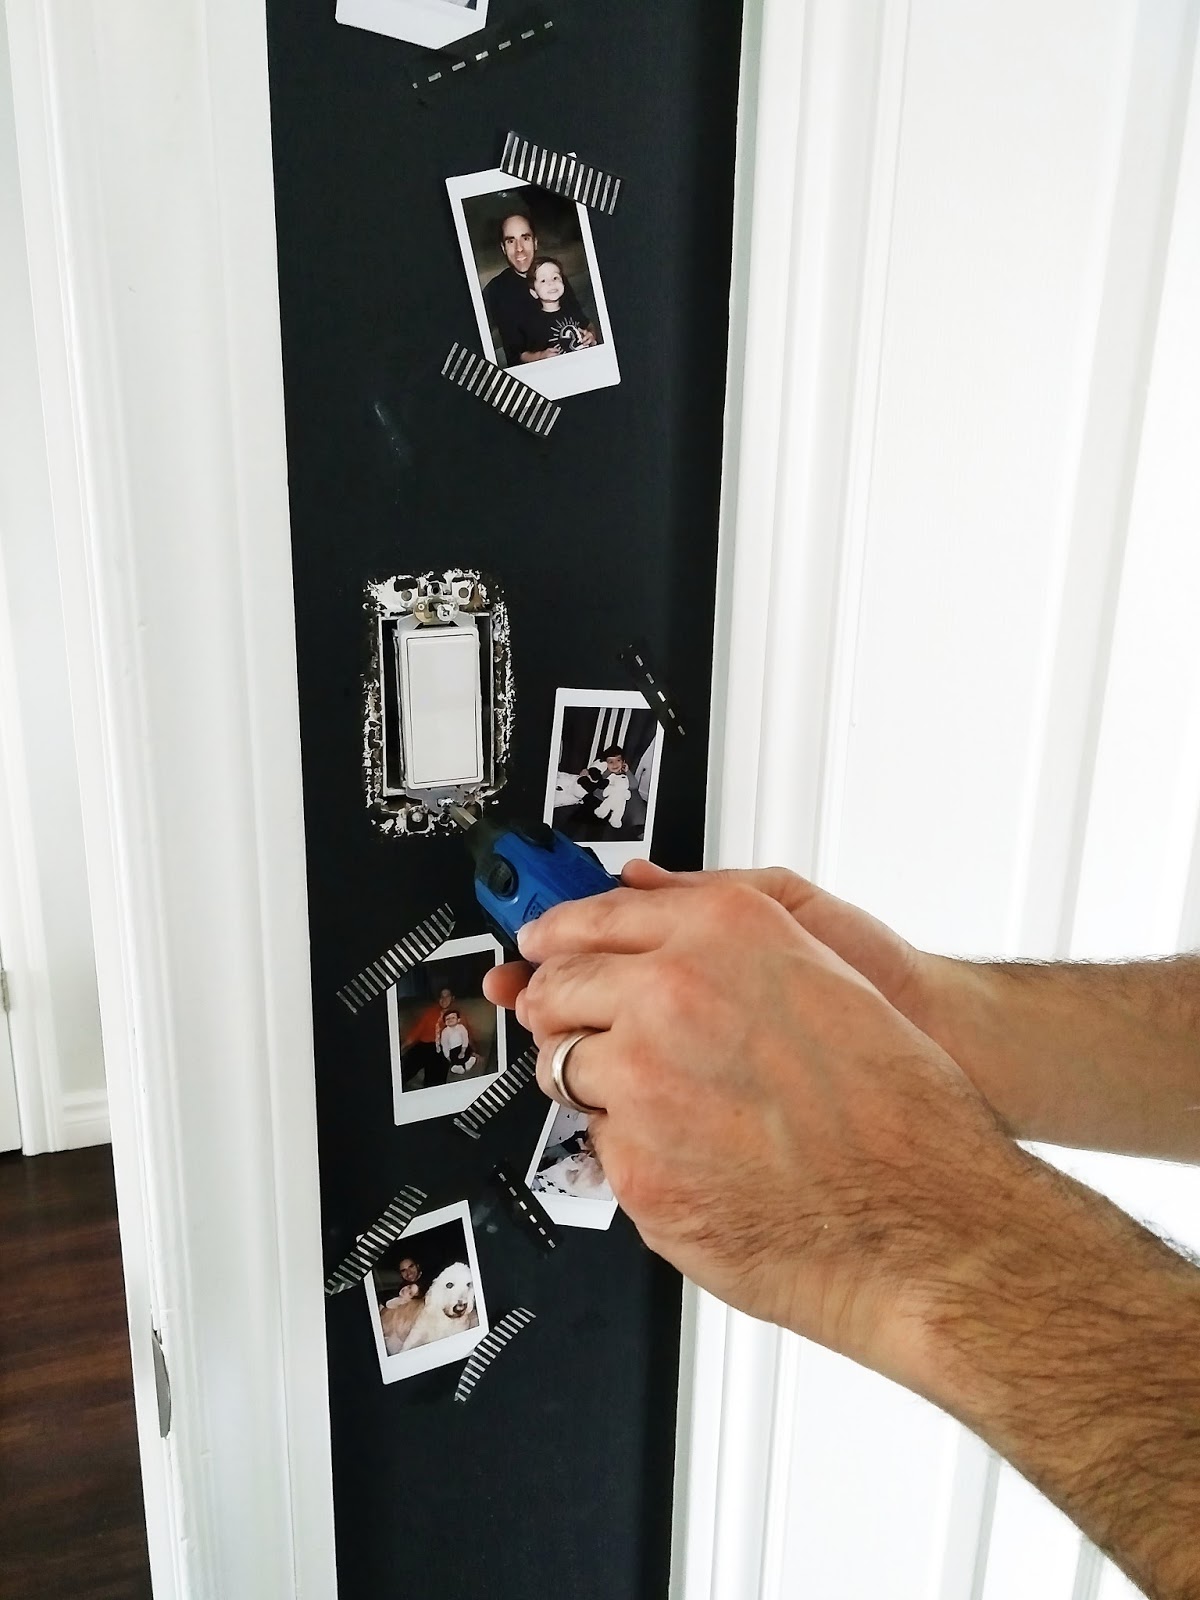
This project was super quick and easy to do. Since all of the wall plates are screwless, it literally took us less than 30 minutes to switch out all 6 fixtures in the room. Now that’s a project I can do with 2 little ones running around!
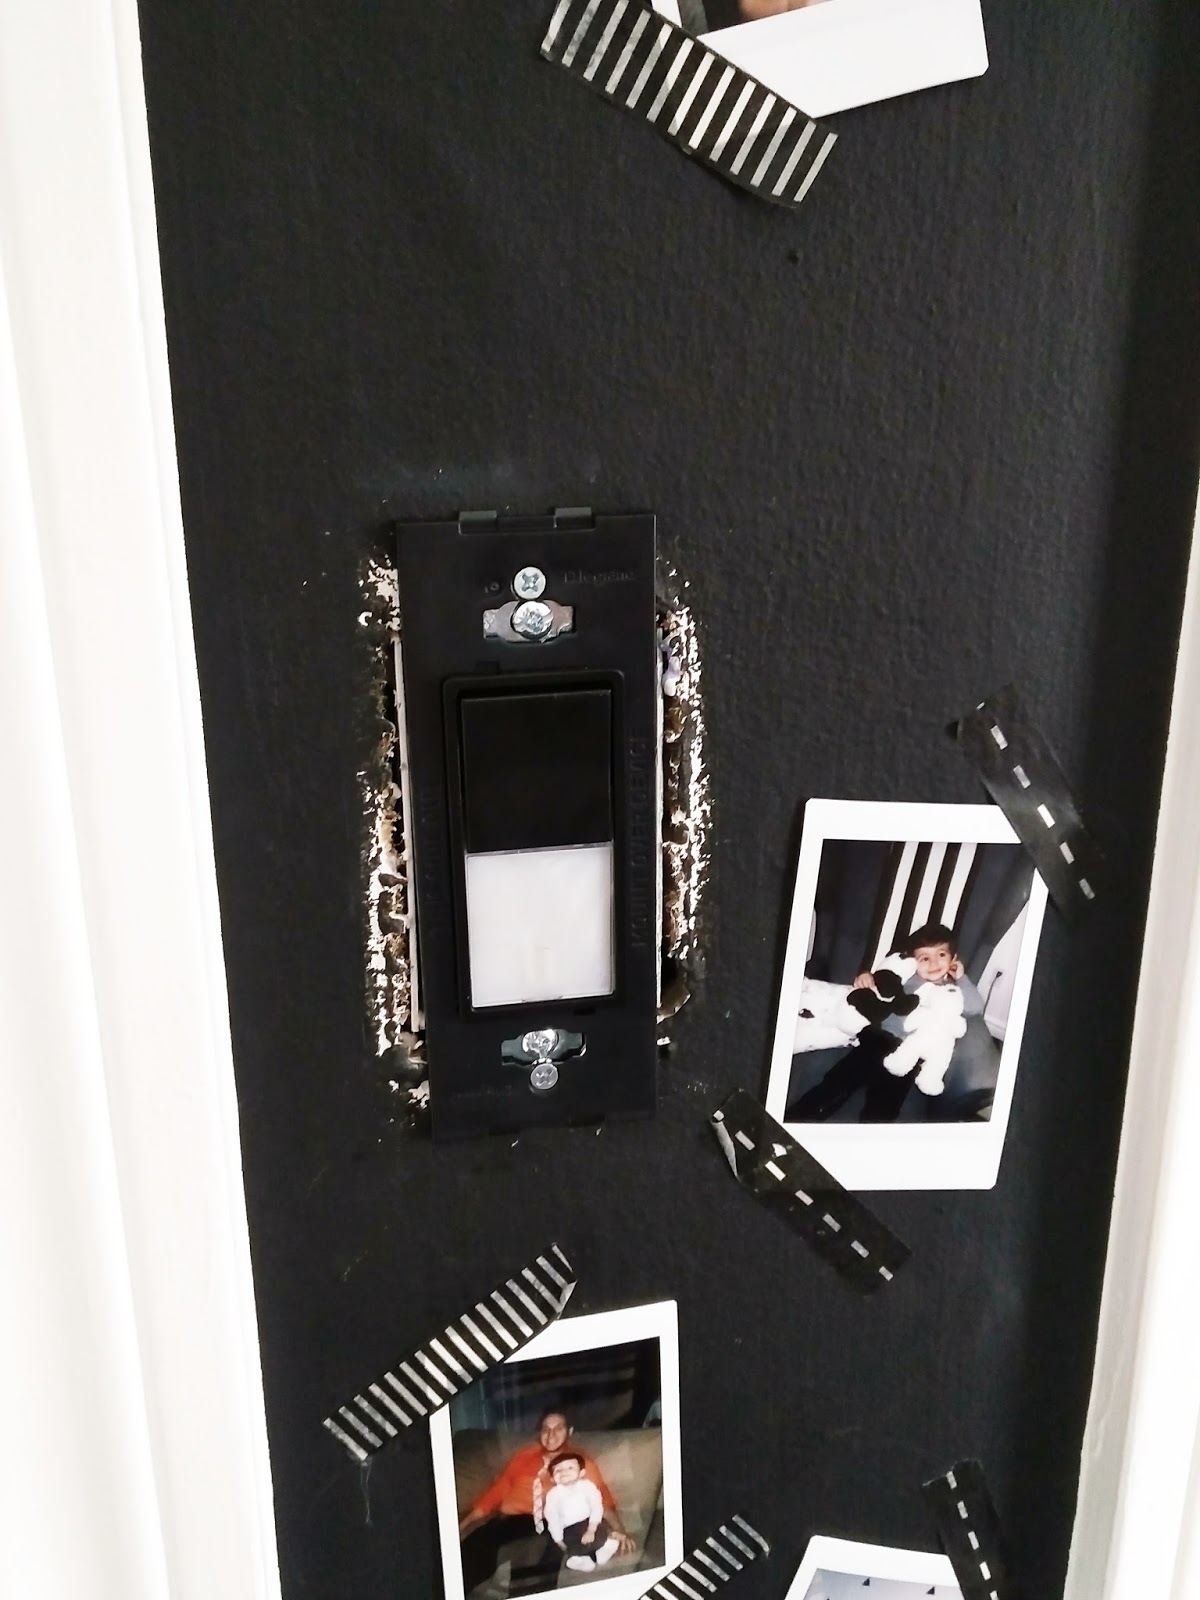
The first step was turning off the power to the outlets in that room. We tested to make sure the power was off and then away we went! All you need to do is remove the current wallplate and plug-in and unscrew the wires. Replace it with your new plug-in, screw back your wires properly and pop the plug-in back into the wall. The last step is to pop the plate on top and you’re done! Simple.
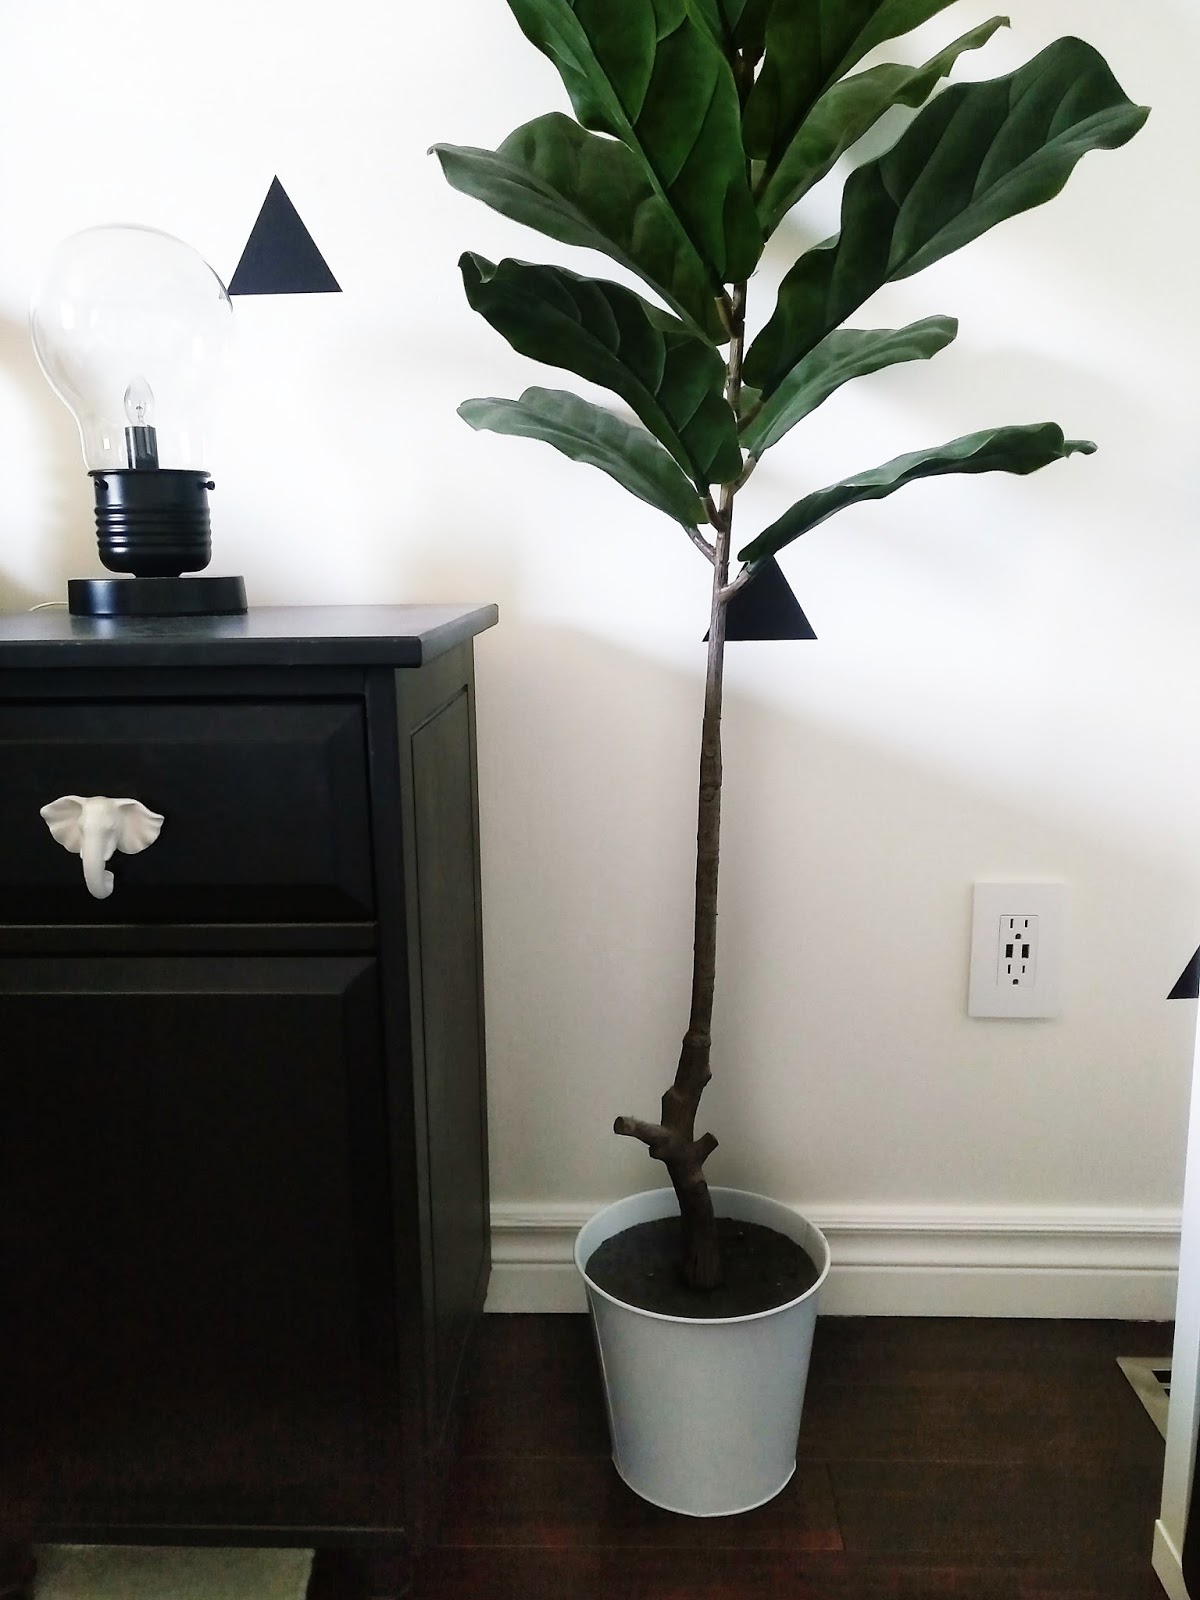
We had 6 outlets to switch out in and we chose simple dual outlets for 3, the night light/ switch combo for 2 and a USB plug-in/outlet combo for the one near our sons bed (I know one day he’ll thank us for that!)

The night light/switch combo at the entrance to his door has been helpful for our son at night. The night light gives out the prefect amount of light. They have 4 settings for brightness and to be honest, even the lowest setting is great. You simply tap the light to turn it on, and it remains off in daylight, but automatically turns back on when it senses darkness. Its been amazing for our son during the middle of the night if he wants to leave his room for a washroom break, etc , since he’s less afraid now that he has a light guiding his way.

I’m thrilled with how they look too- very modern and updated and I feel that they work well with the style we have in the room. Its a simple project to take on, but I feel its made a big impact in the look of the space and helping our son to be less afraid at night. Plus, he ends up in our bed less (which means I’m not sleeping on the edge of the mattress) so that’s a win in my books!